Link with Toggl

Lorem ipsum dolor sit amet, consectetur adipiscing elit.

Automatically generate invoices from time entries. This way, you easily and accurately invoice hours worked.

This integration allows you to turn your time entries in Toggl into invoices in MYBREEX automatically. This integration is done via Zapier, a tool that links software and initiates actions in other software using triggers. This integration works for both the free and paid versions of Toggl.

Activate this link

Create a client in Toggl. Navigate to the ‘Clients’ menu and click ‘New Client’ in the top right.

At a later stage, MYBREEX will link the project you are working on to your customer in MYBREEX based on the company number/VAT number. It is therefore necessary for the company number to appear in your customer’s name in Toggl. You can do this by naming your customer based on one of the following three ways:

– Customer’s VAT number, e.g.: “BE0563846944”

– Name + VAT number, e.g.: “MYBREEX BE0563846944”

– VAT number + Name, e.g.: “BE0563846944 MYBREEX”

Make sure the VAT number/business number is always kept separate from the other words in the name.

Once you have created a client, you can create a project in which you track work hours for that client. Navigate to the projects menu and click ‘Add New Project’.

Fill in the following information:

– Project Name: the name of your project (you can choose this yourself)

– Workspace: If you have multiple accounts or workspaces you can select them here.

– Customer: choose your customer

– Privacy: Set whether your project is private or public.

We will now set the hourly price for your work in MYBREEX as a product. Based on this product, namely 1h work, the price on your invoice will be calculated later. You can enter different hourly rates for different types of tasks. Always enter a product reference. You can choose these yourself, but always make sure they are different. You then enter the product reference of the hourly rate you wish to use for a particular project in Toggle as a tag.

In Toggl, navigate to the ‘Tags’ menu and click on ‘New Tag’. Name the tag the product reference from MYBREEX of your hourly price and click CREATE.

Toggl stap 4
Toggl stap 5

Go to Zapier's website, create an account and sign up. Since you only need one trigger and one action for this integration, you can use the free account.

Now we are going to create a Zap. That is a workflow with at least one trigger in one tool and one action in another (or the same) tool. In the case of this guide, it is the workflow where time recording in Toggl works as a trigger for creating an invoice and formatting it in MYBREEX using the time recording in combination with the hourly price tied to the tag/product reference in Toggl.

Click 'Make a Zap' at the top left after logging in and give your Zap a name.

Toggle stap 6

In the Zap you just created, you can now set a trigger. In this case, that is entering a time entry in Toggl. Type Toggl in the search box and click on the Toggl icon.

Toggle stap 7

In the drop-down menu on the next screen, choose 'New Time Entry' as the 'Trigger Event'. Then click on 'Continue'

Toggle stap 8

On the next screen, you need to log in to Toggle in Zapier so that Zapier gives permission to retrieve data from your Toggle account. Click on 'Log in with Toggle'. This will open a window where you can enter your Toggle account's API key. This can be found in your Toggle account. To do this in Toggl, click on the icon next to your account name and e-mail address at the bottom left. Scroll down on your profile page and copy the API key.

Toggle stap 9

Back in Zapier, you can now select your workspace. Then click on 'Continue'

Toggle stap 10

Hereafter, Zapier proposes to test your Trigger. If you don't already have data in Toggl, you need to enter a 'Time entry' first, otherwise Zapier won't have data to run your test.

Go to Toggle and insert a time entry in your project. Make sure you indicate the correct client and tag (or product) when registering.

Toggle stap 11

After entering your time recording in Toggl, return to Zapier and run the test. After the test, click 'Continue'.

Toggle stap 12

In the next step, we are going to set up an action to be performed based on our Trigger, namely creating an invoice in MYBREEX. In your Zap, click on the following box: 'Action'.

Toggle stap 13

Type 'MYBREEX' in the search bar and click on the MYBREEX icon. Then select 'Update or add Invoice' from the drop-down menu under 'Action Event' and click 'Continue'.

Like you had to log in to Toggle when creating your Trigger, you can now log in to MYBREEX. If you manage multiple companies with your login, you can select the correct company on the second screen. Then click 'Continue'.

Toggle stap 14

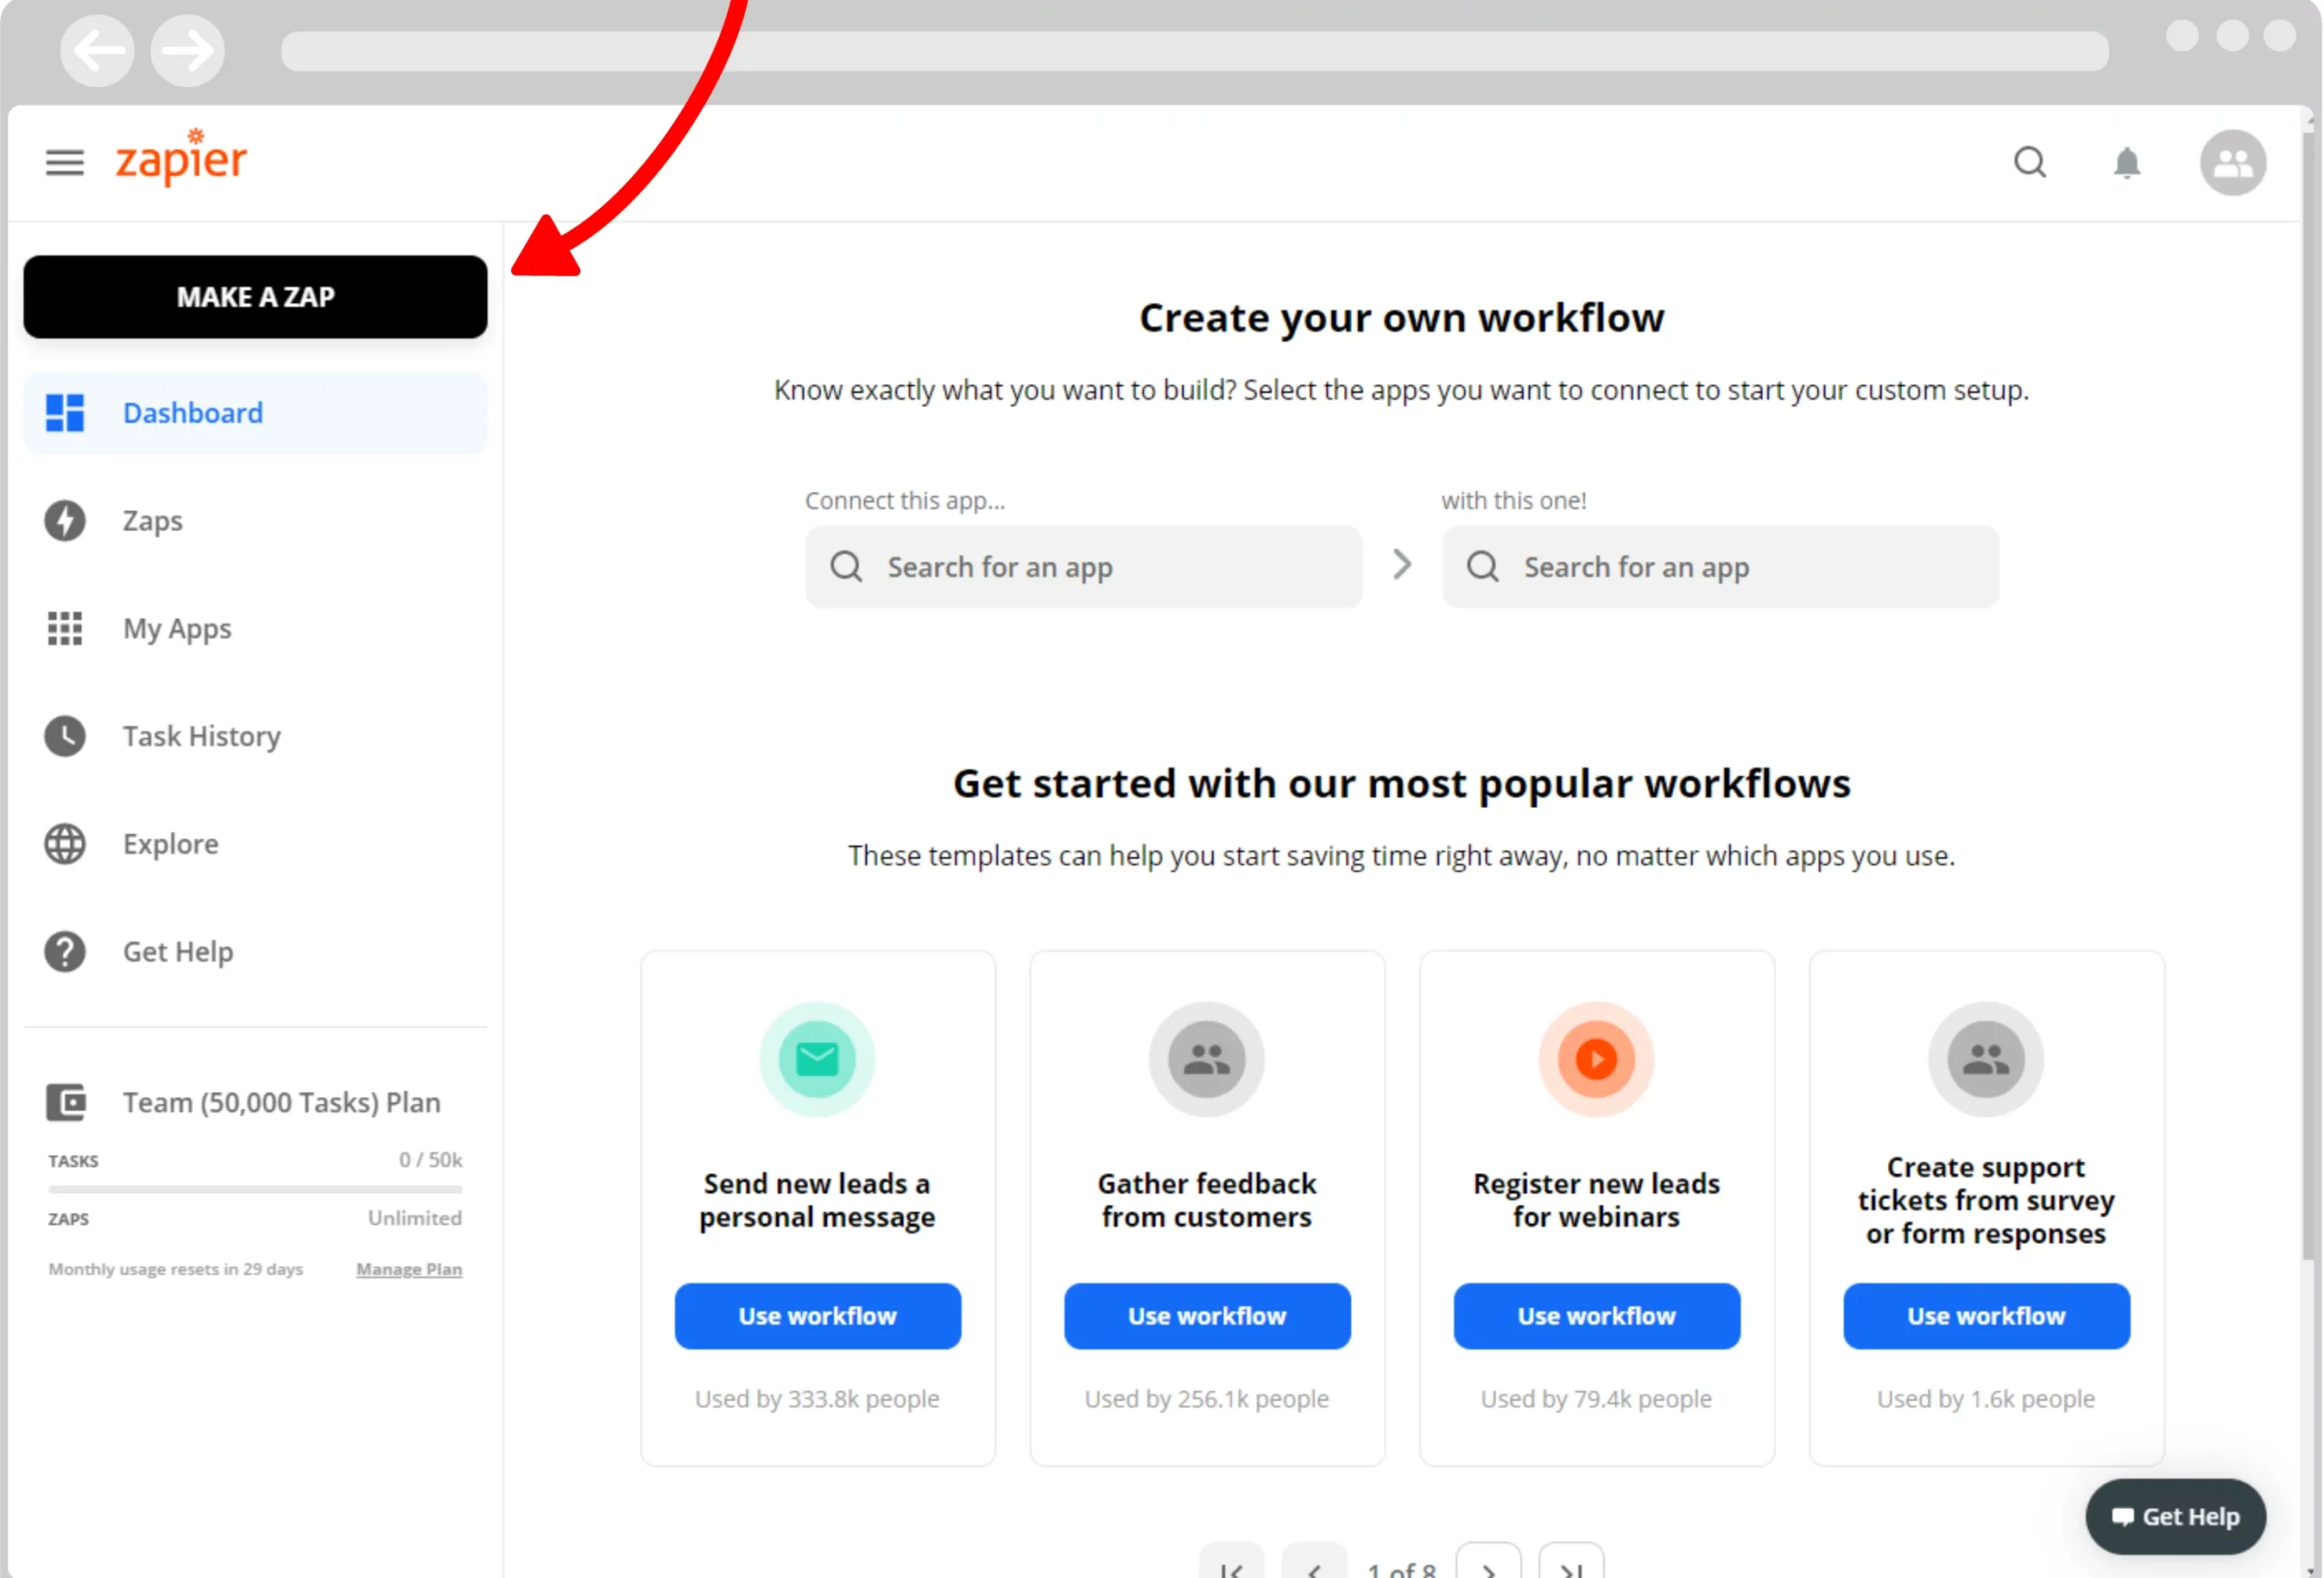
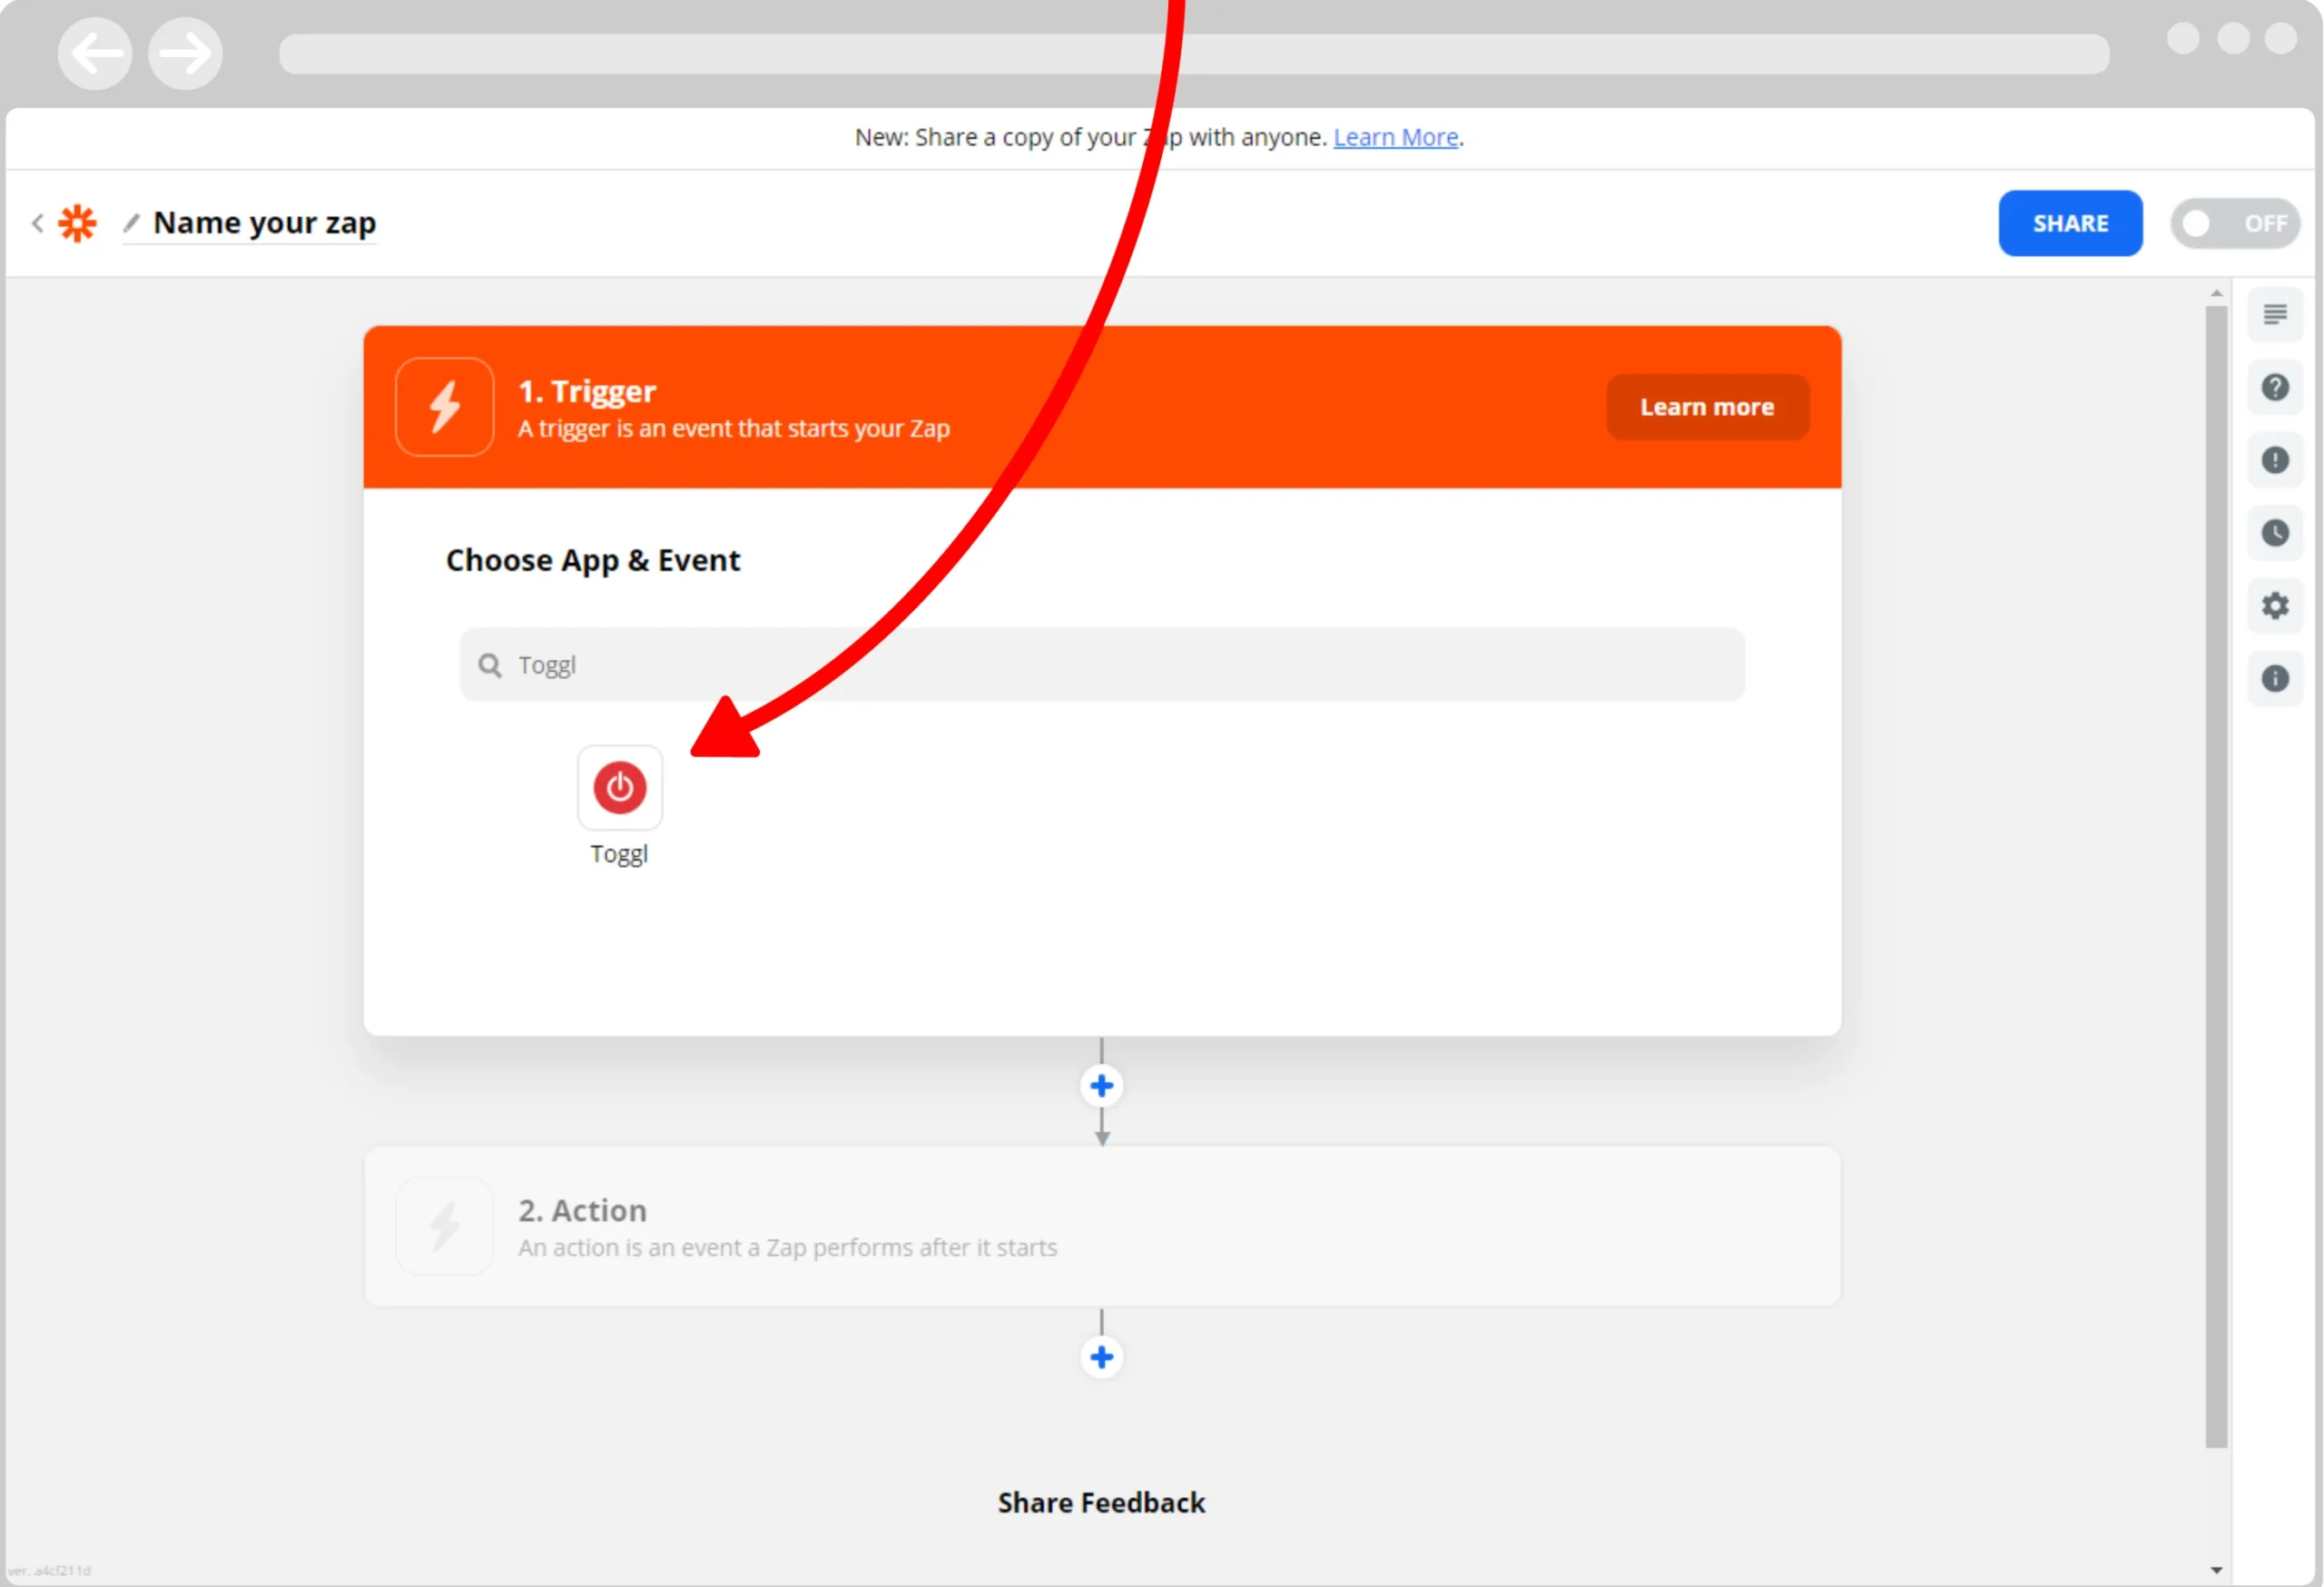
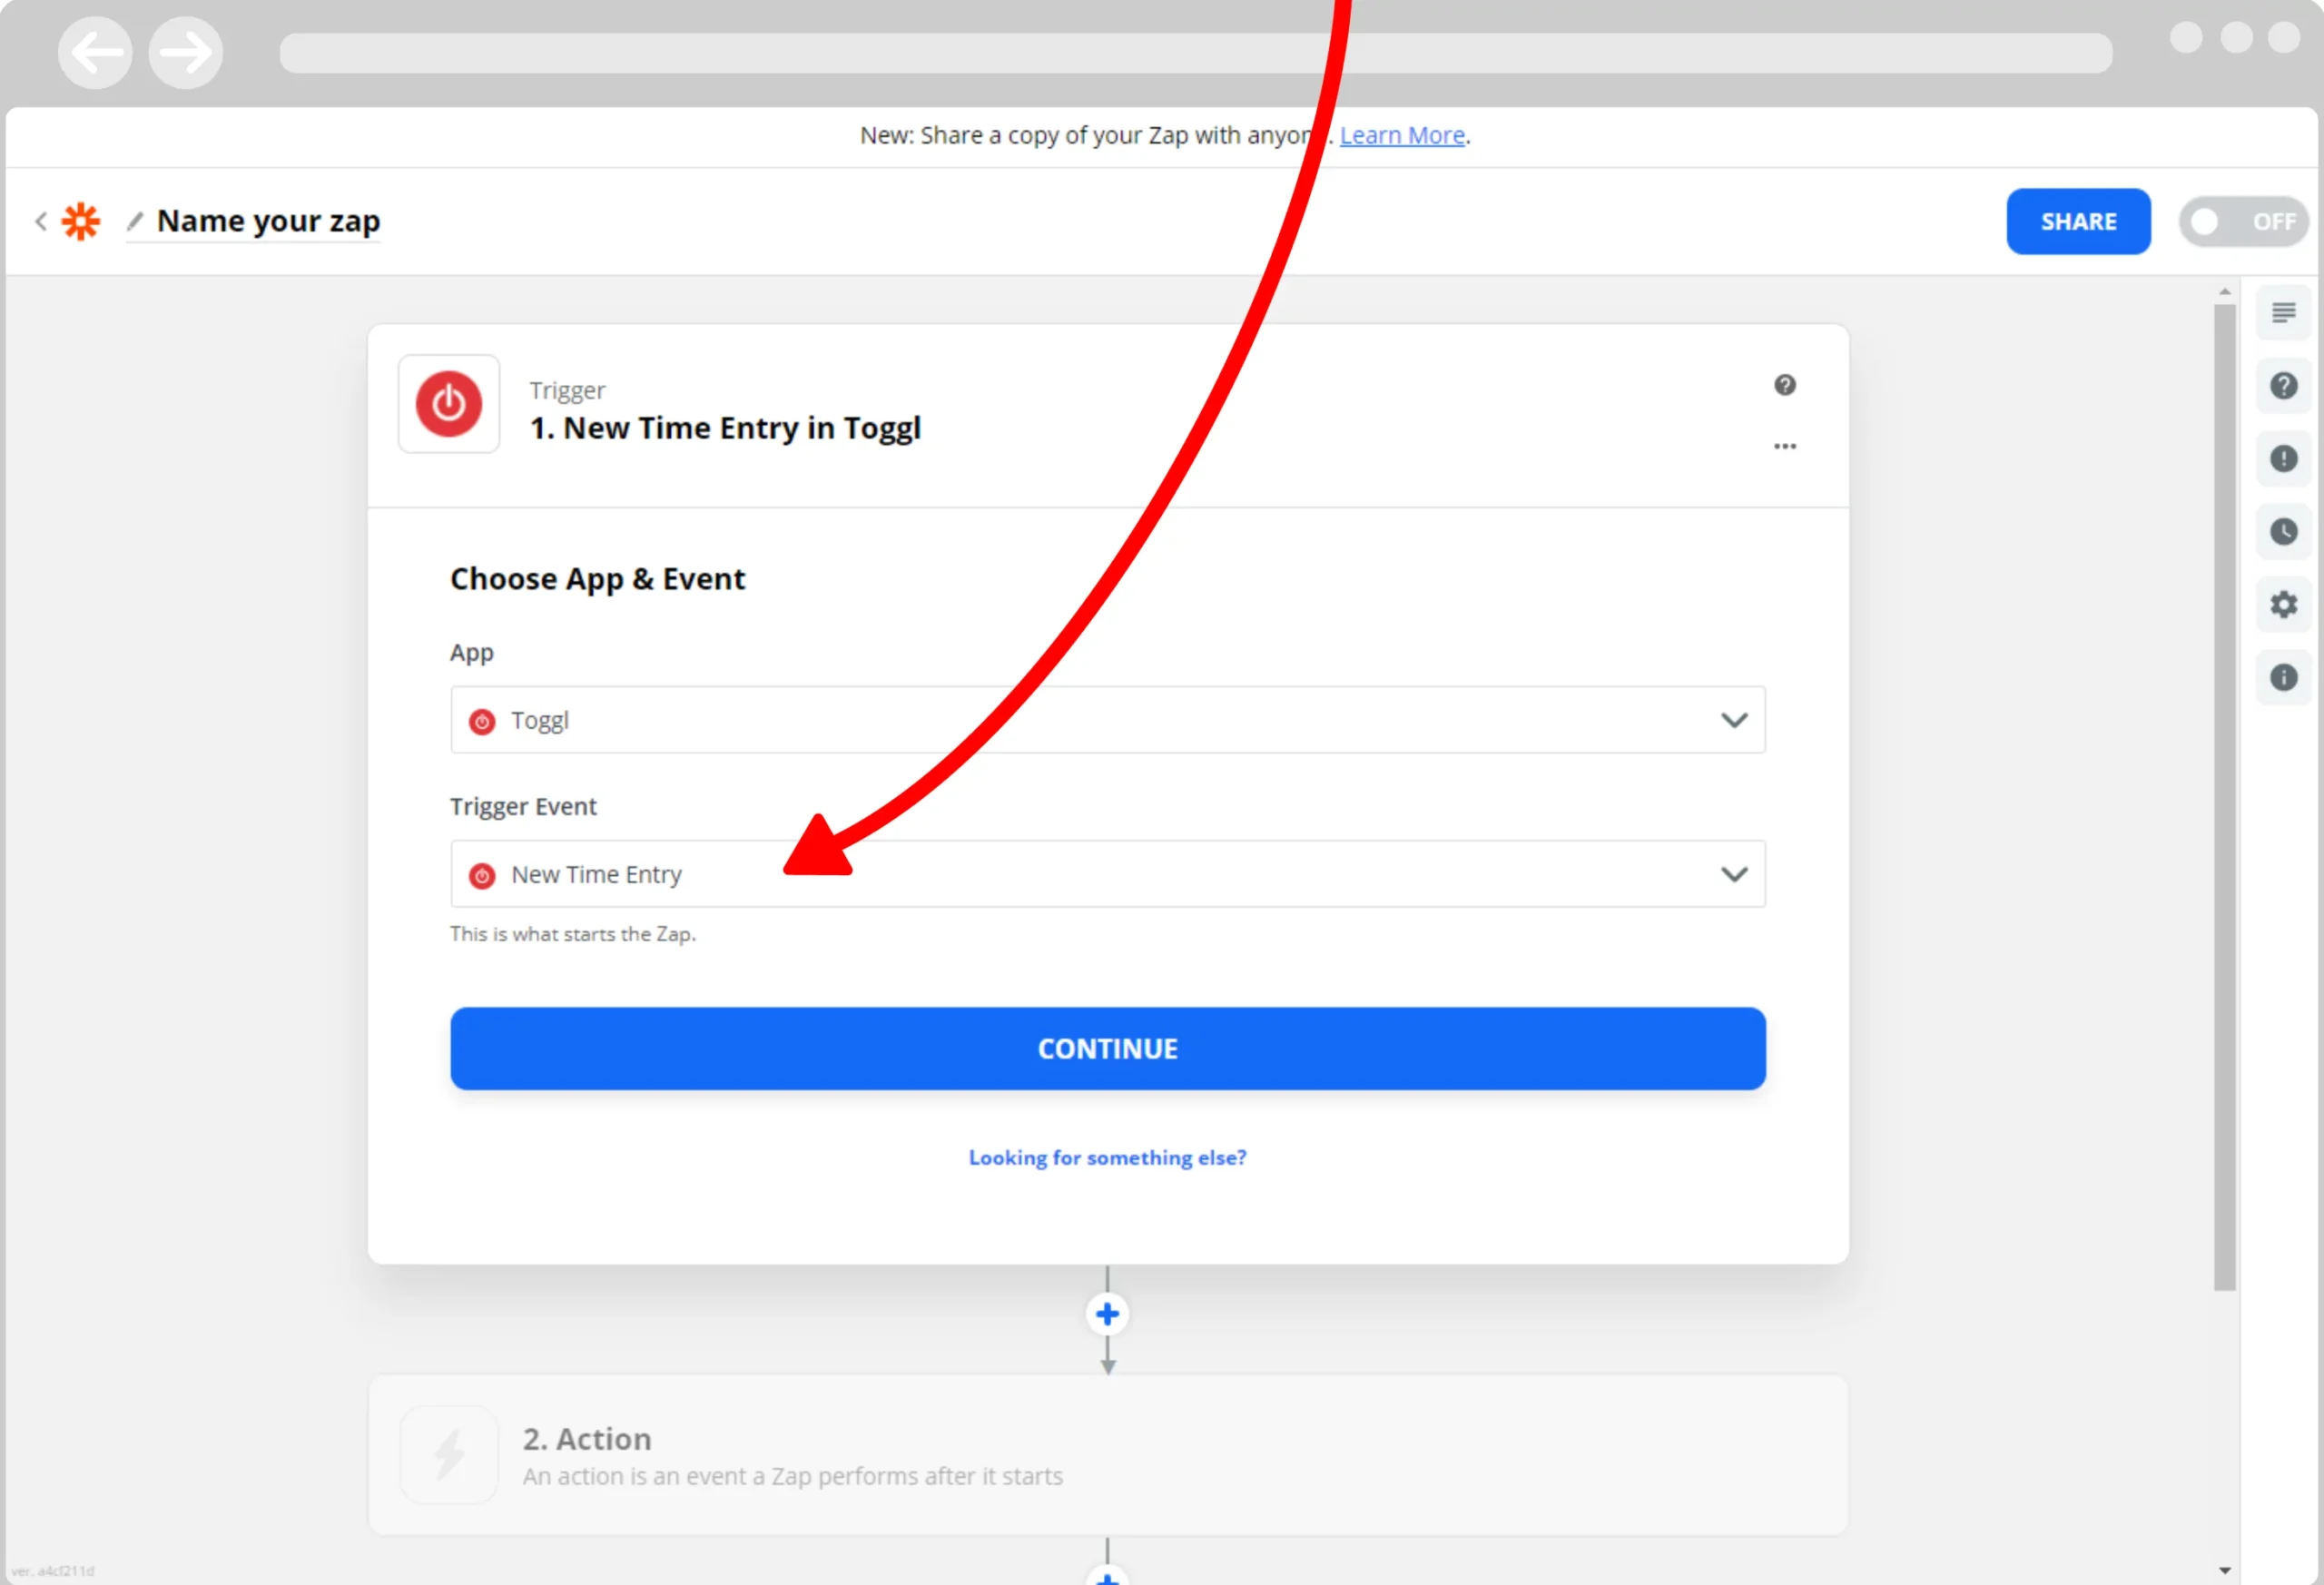
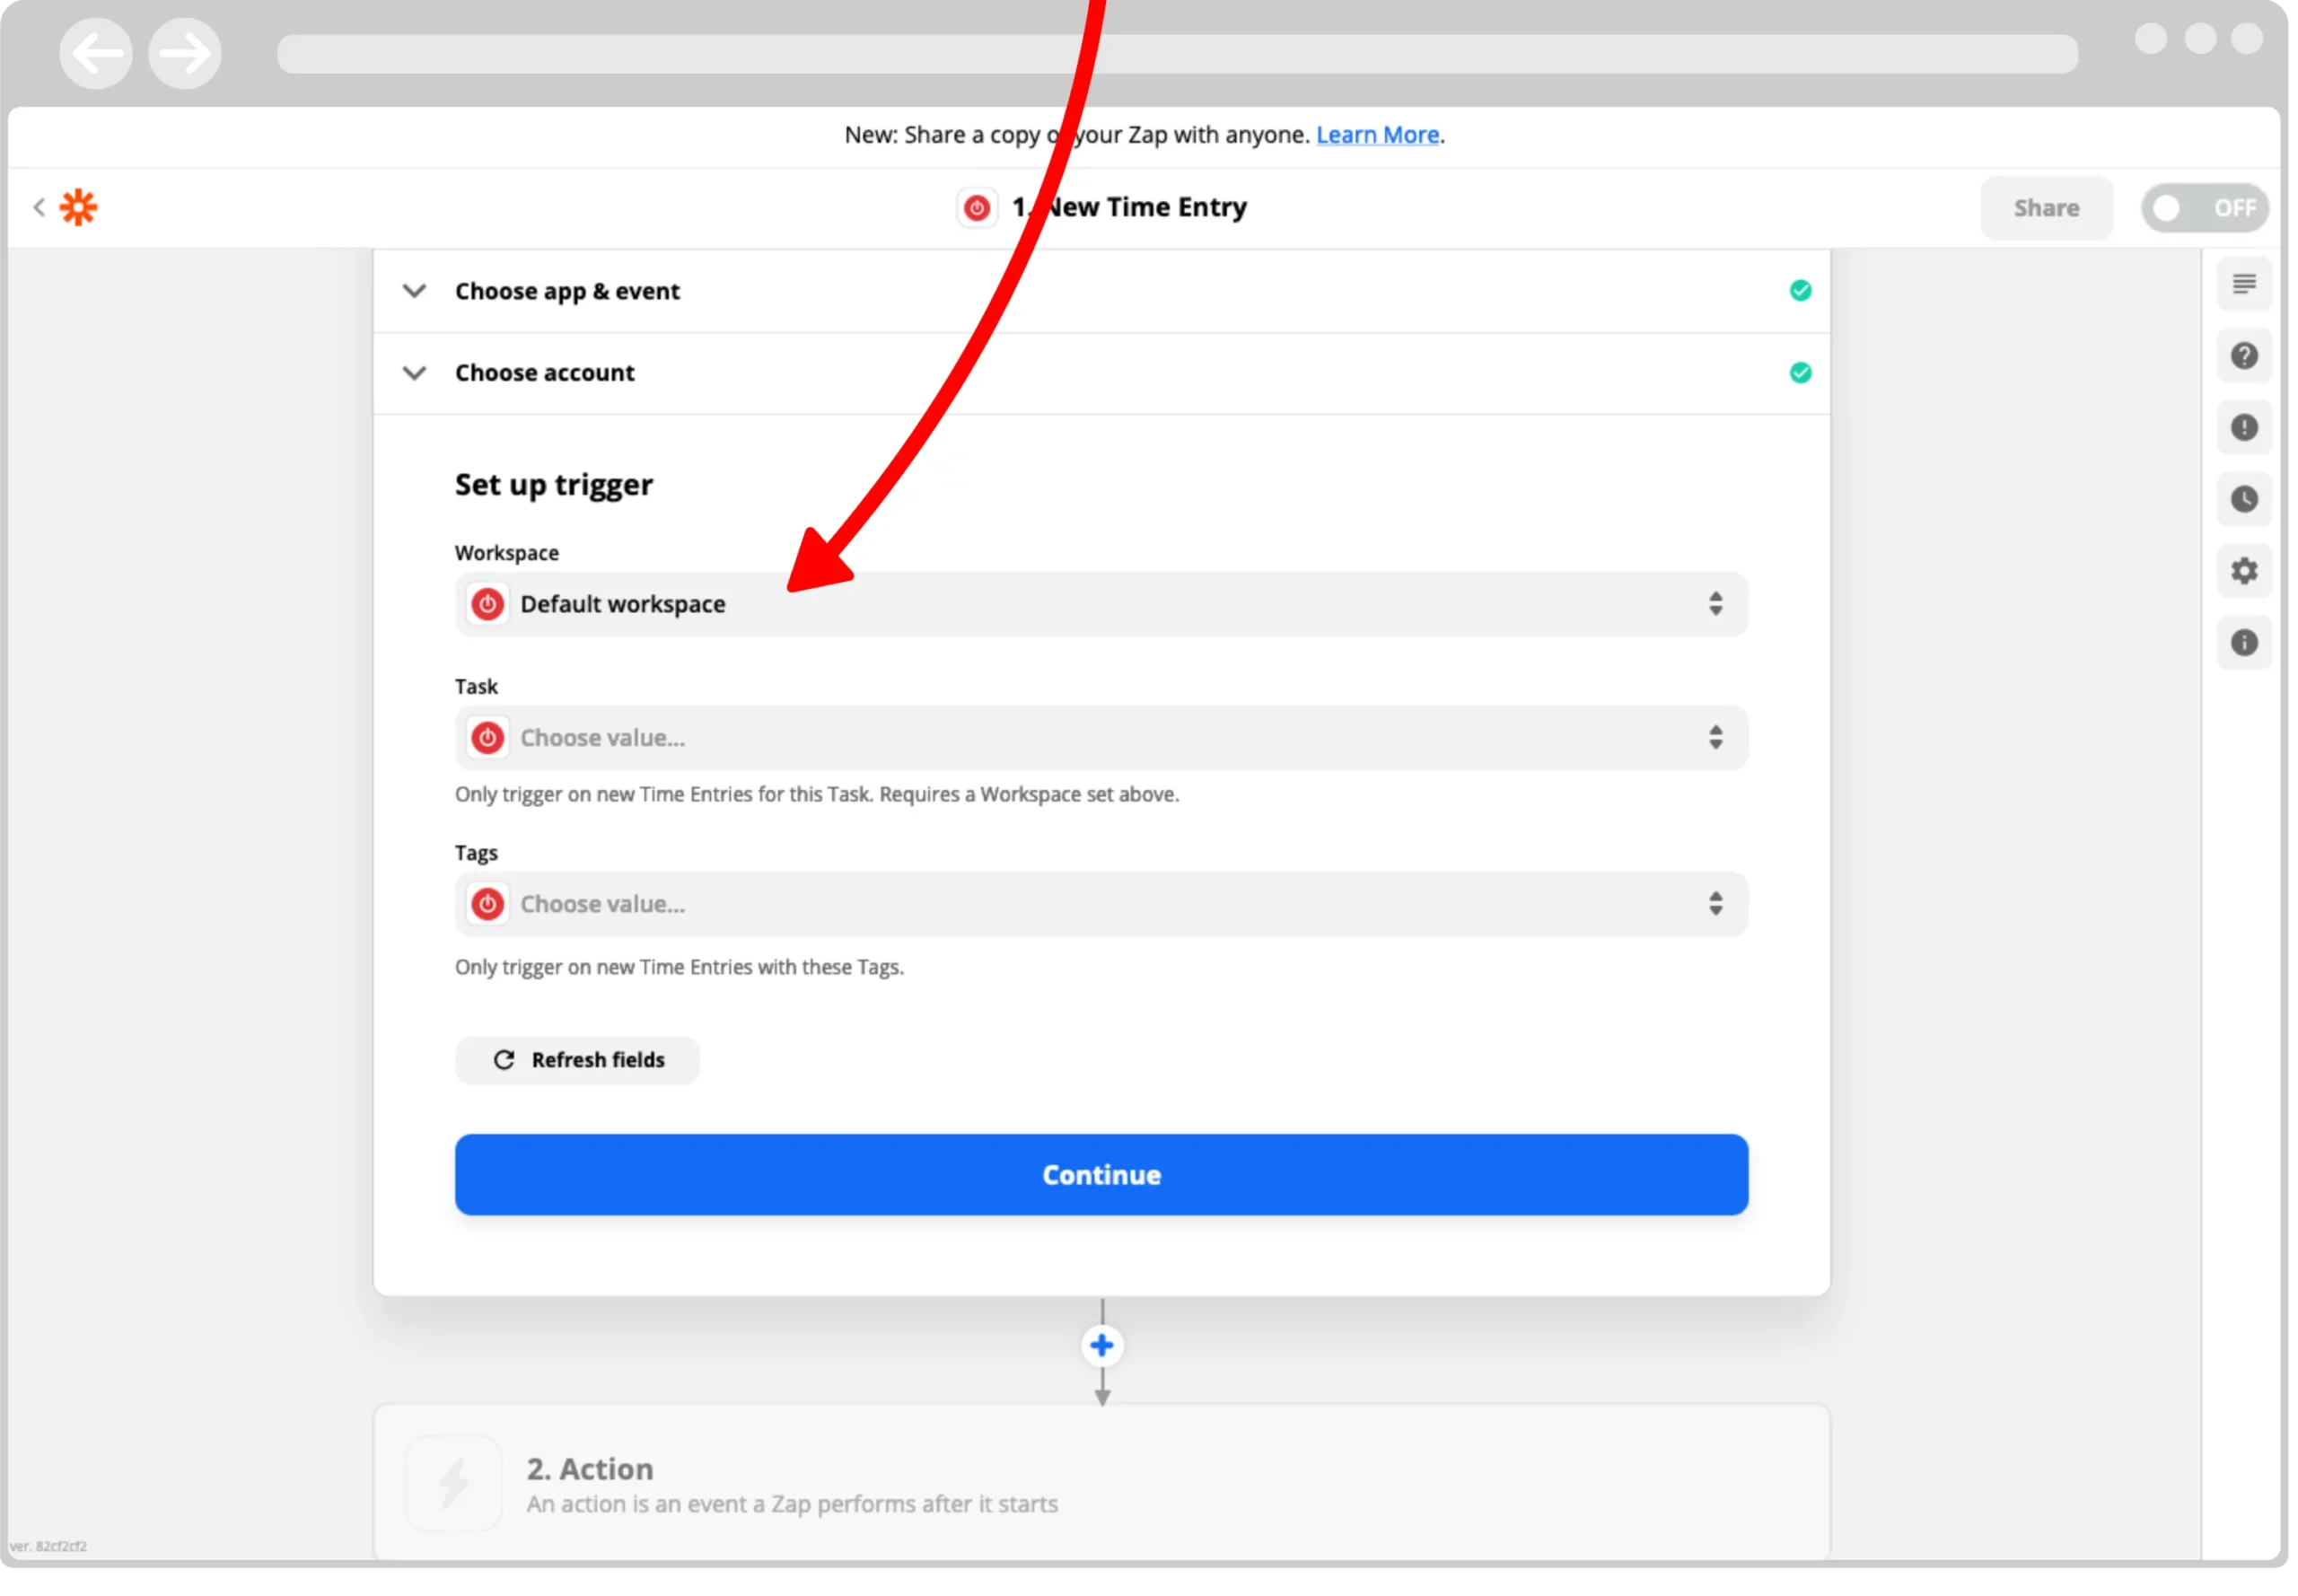
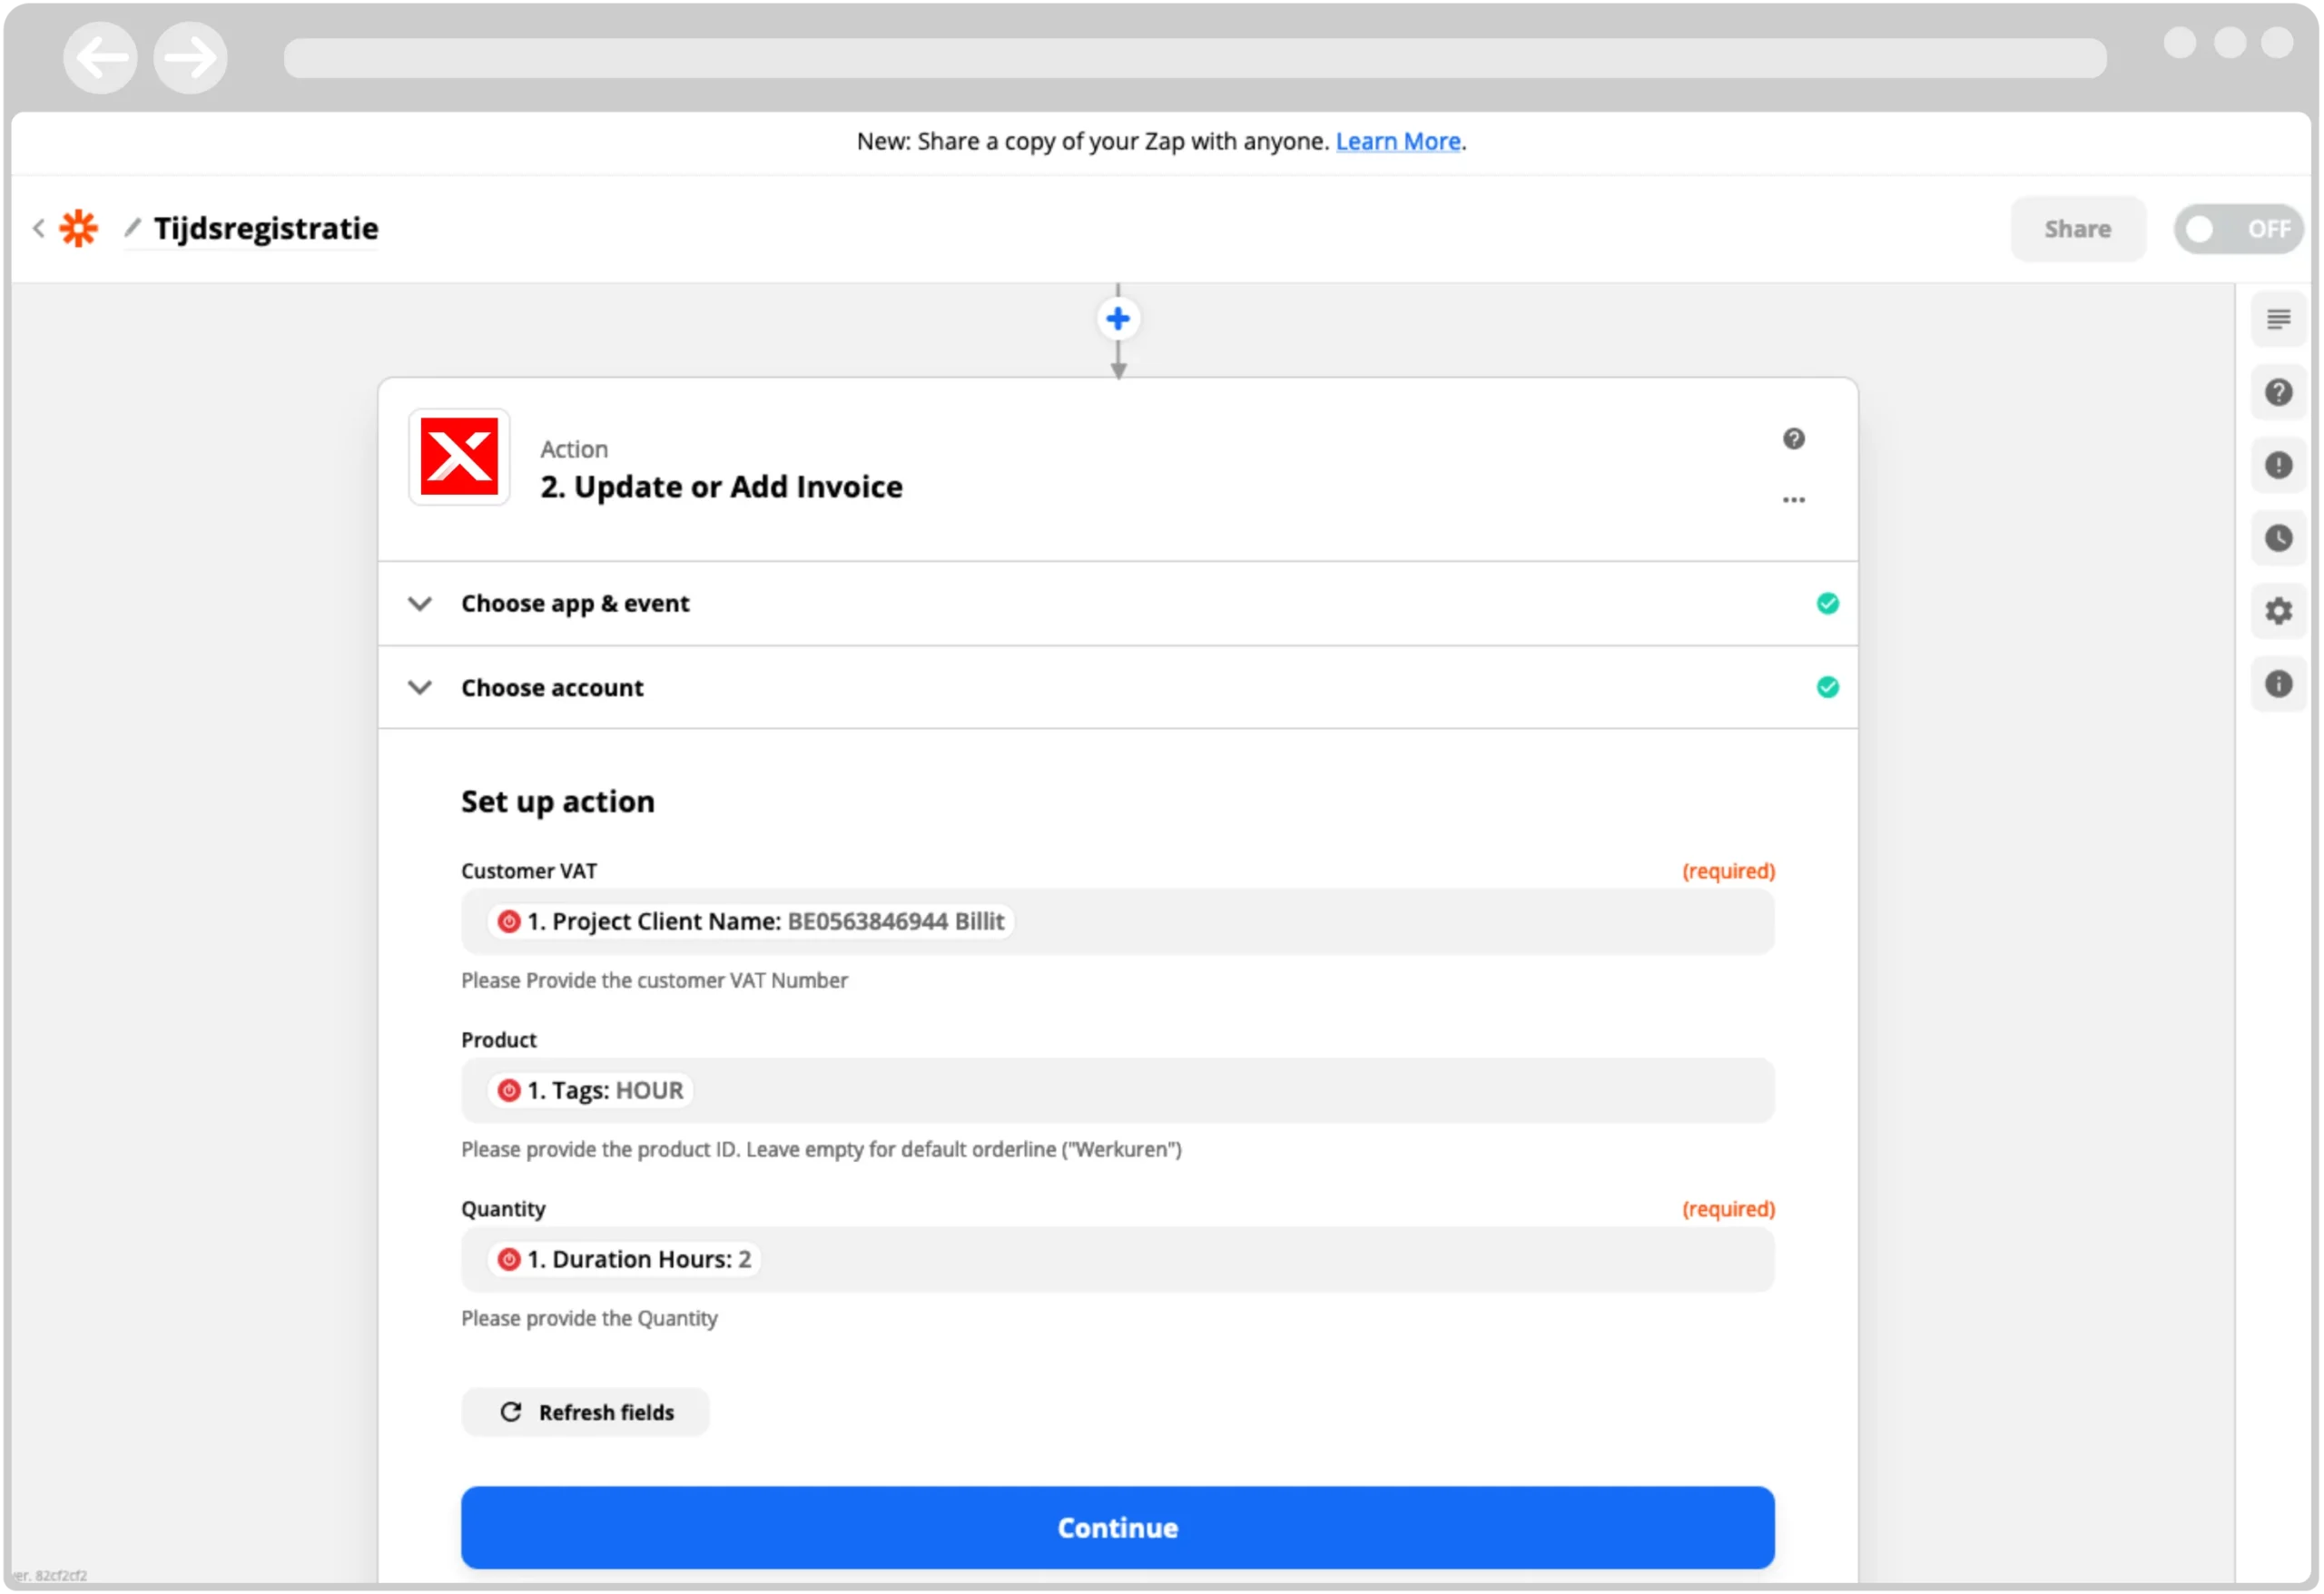
On the next screen, select the data from Toggle that this action uses. Select them each from the dropdown menu (use the search function if necessary).

- Customer VAT: Here you select 'Project Client Name', this is the name you have given the customer in Toggl.

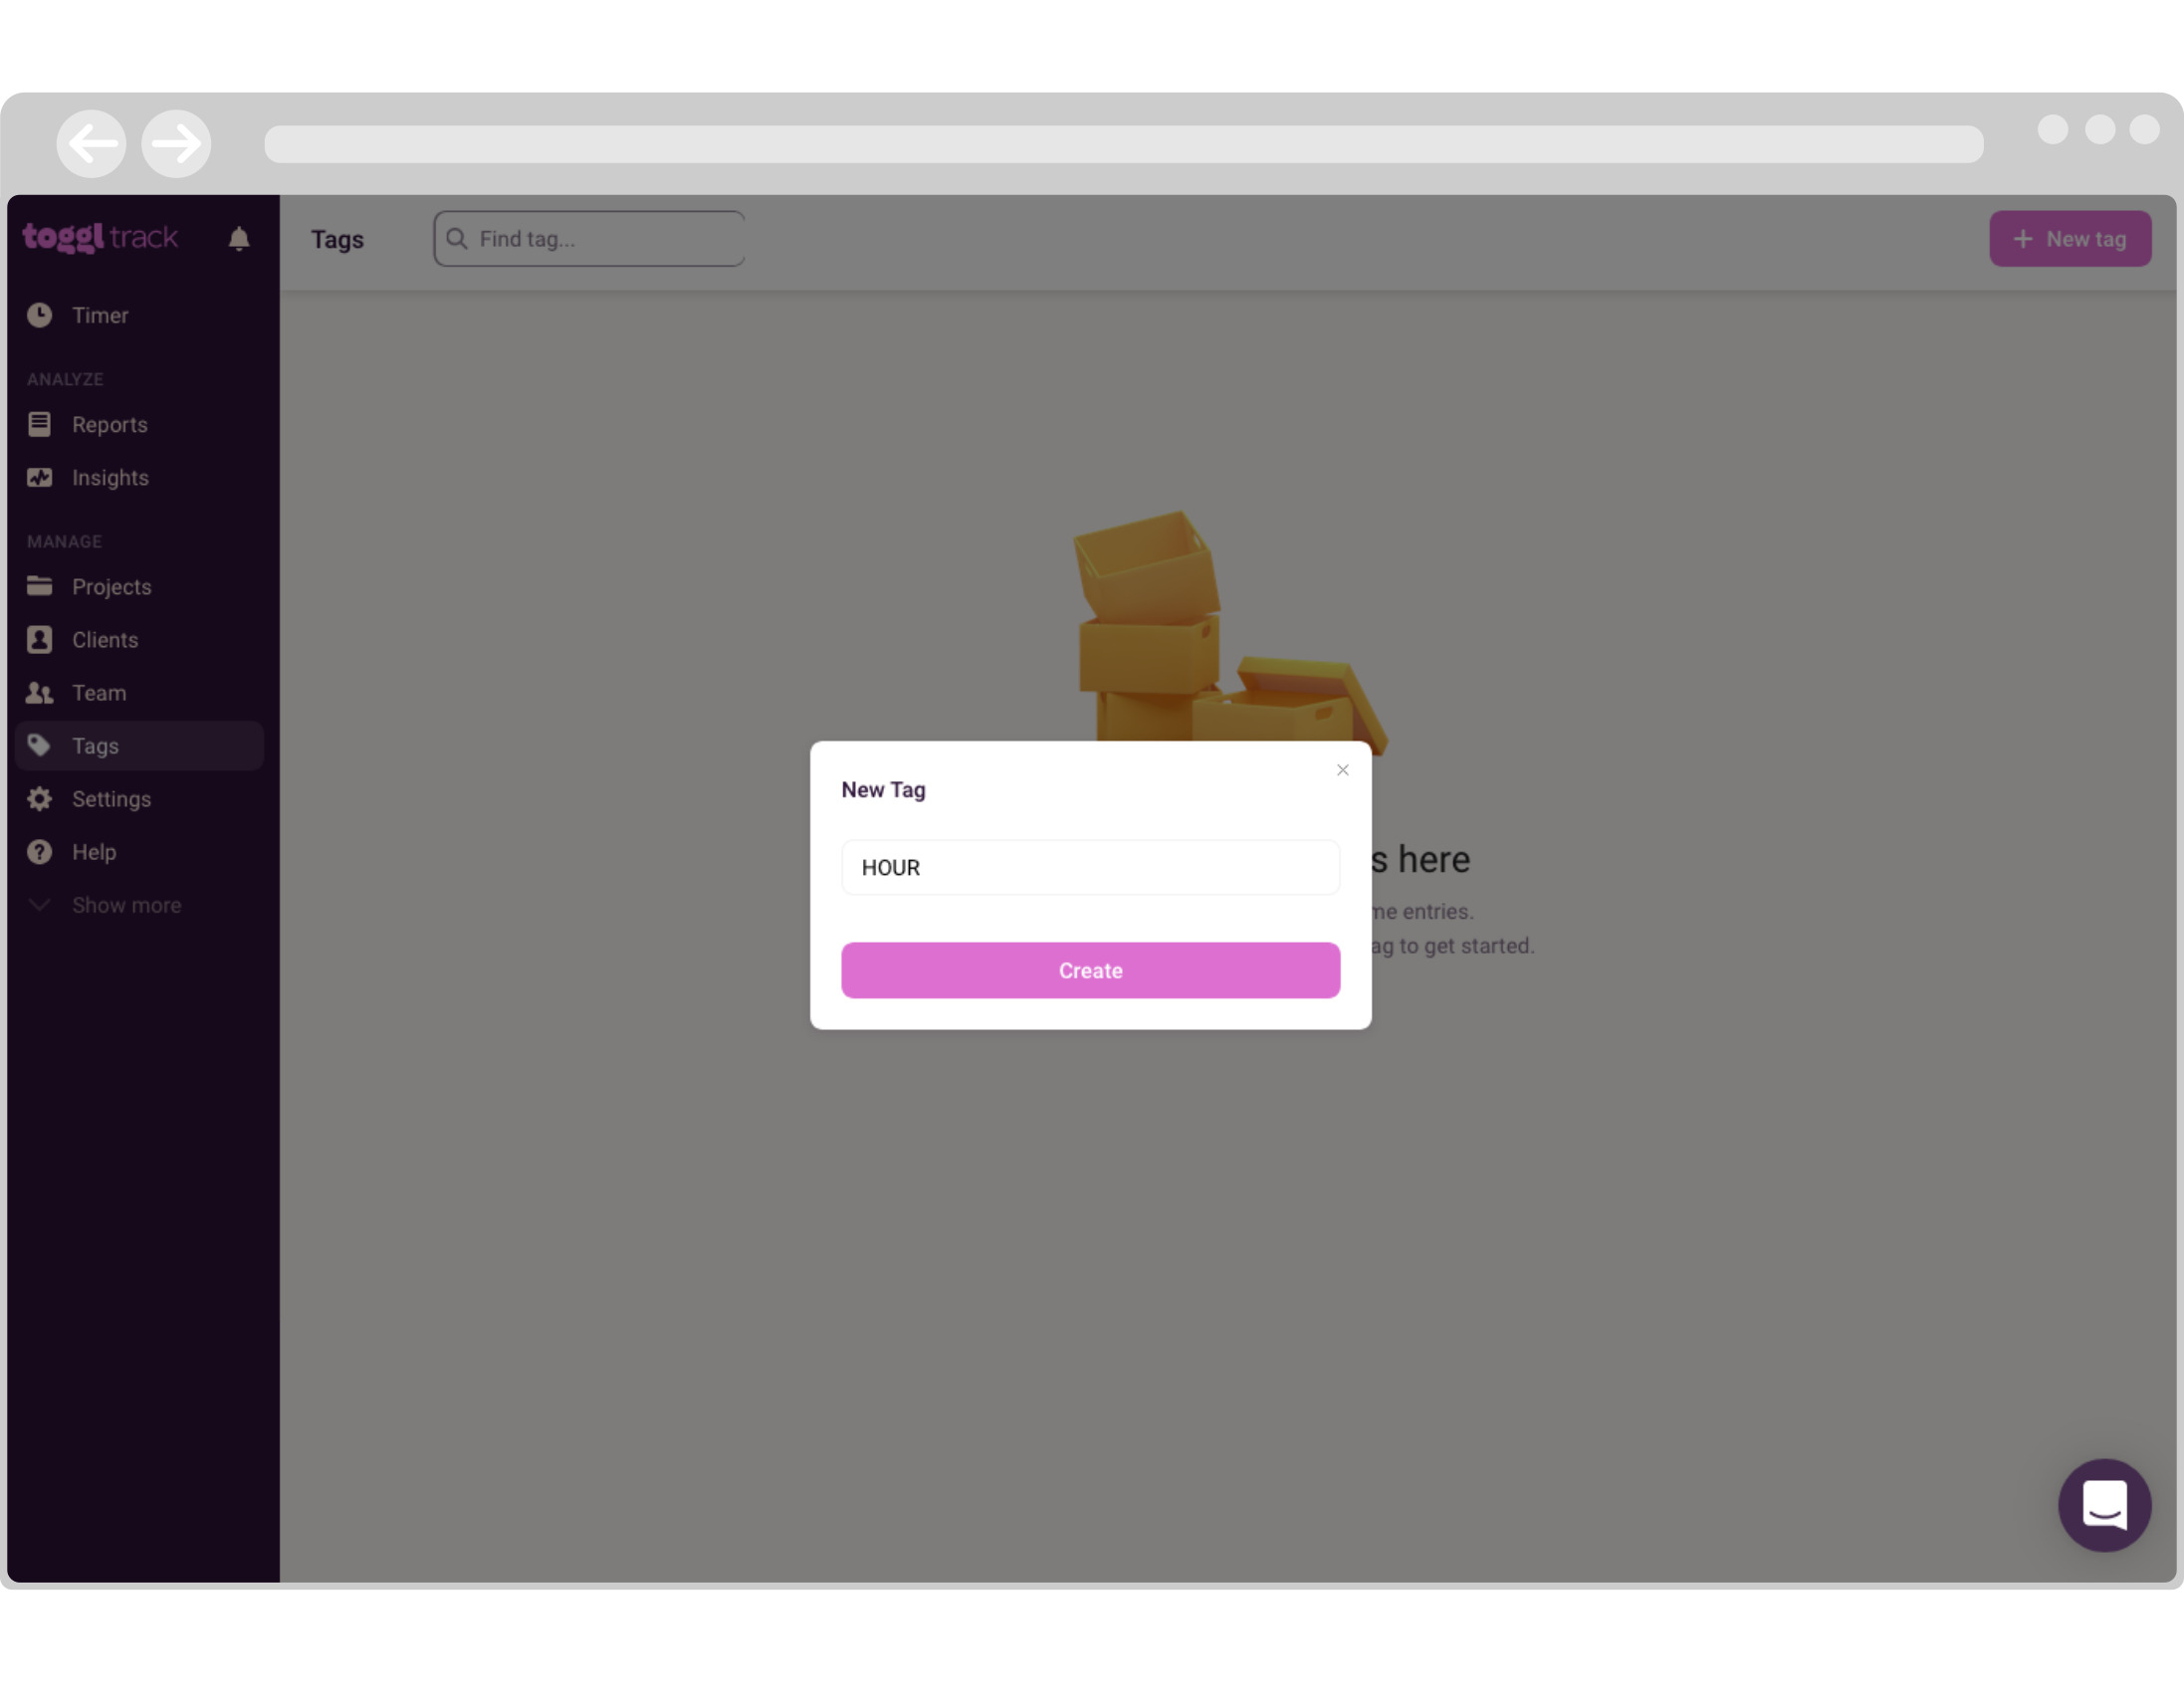
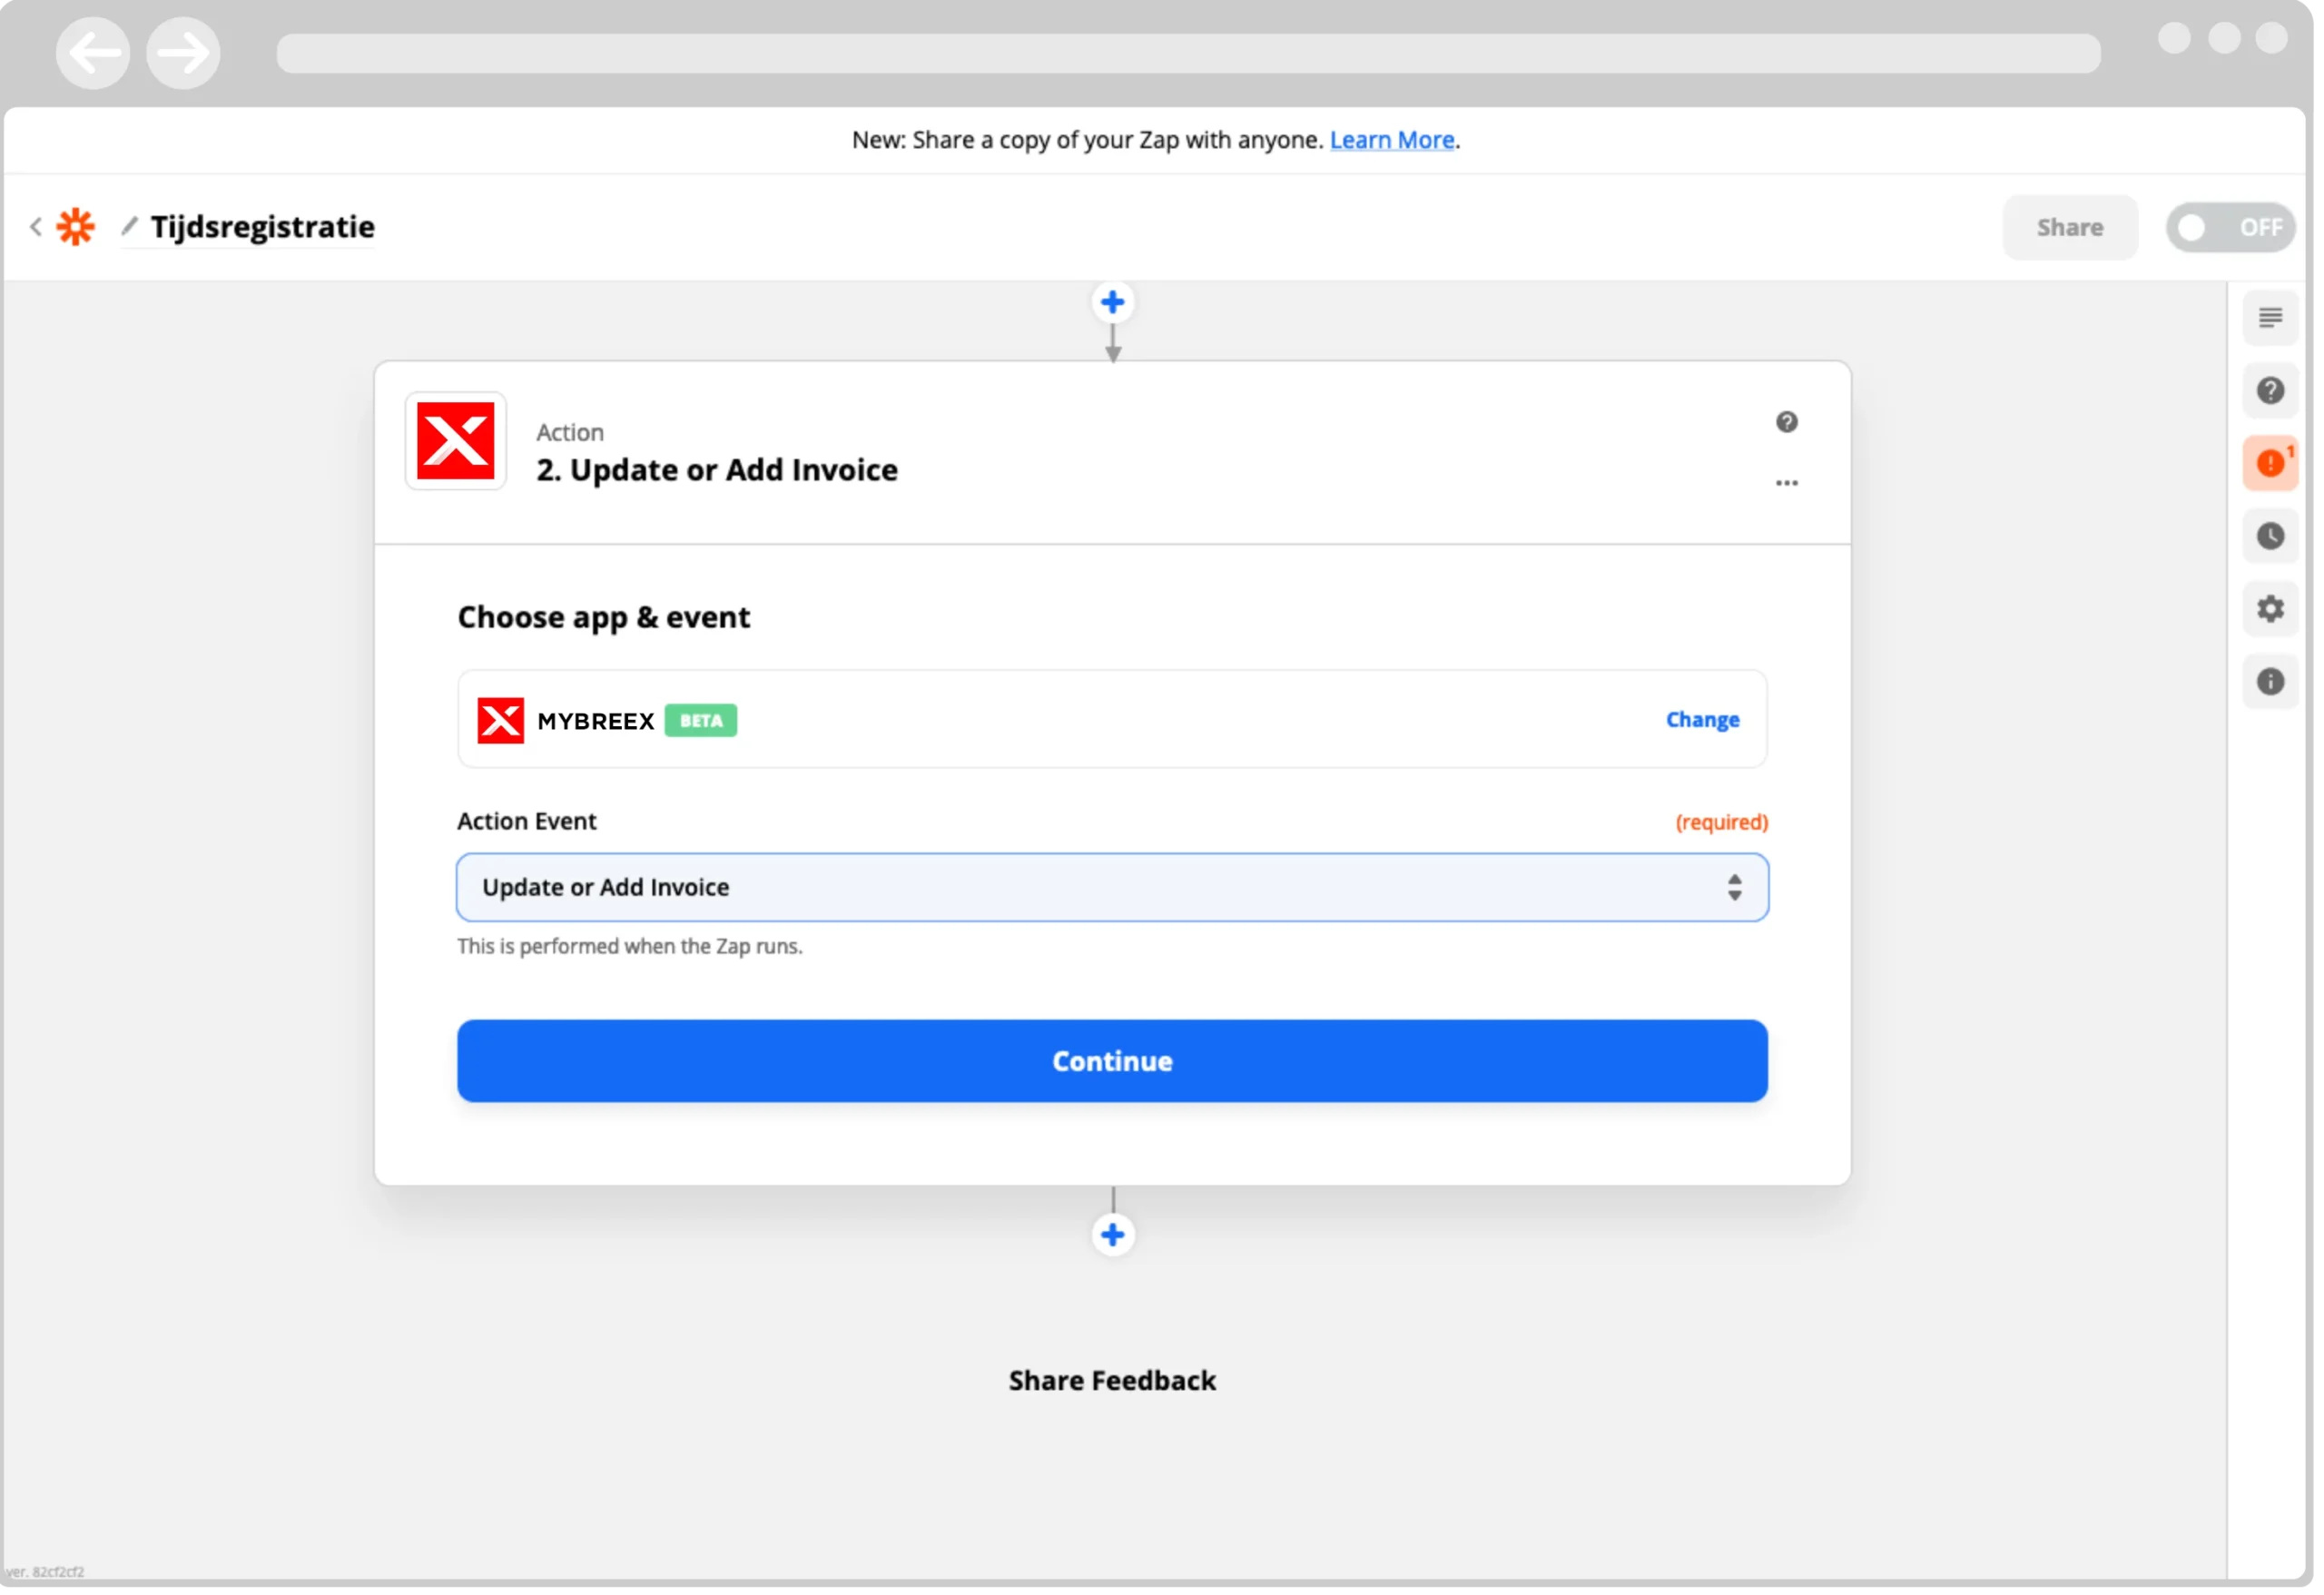
- Product: We have defined the product as a tag. So select 'Tags'

here.

- Quantity: The quantity is the time tracked or entered in Toggl, select 'Duration Hours'.

Toggle stap 15

After this, Zapier again asks you to run a test. When you run it, an invoice will be created in MYBREEX. Don't forget to delete it in MYBREEX after running this test. After running the test, you can activate the Zap.