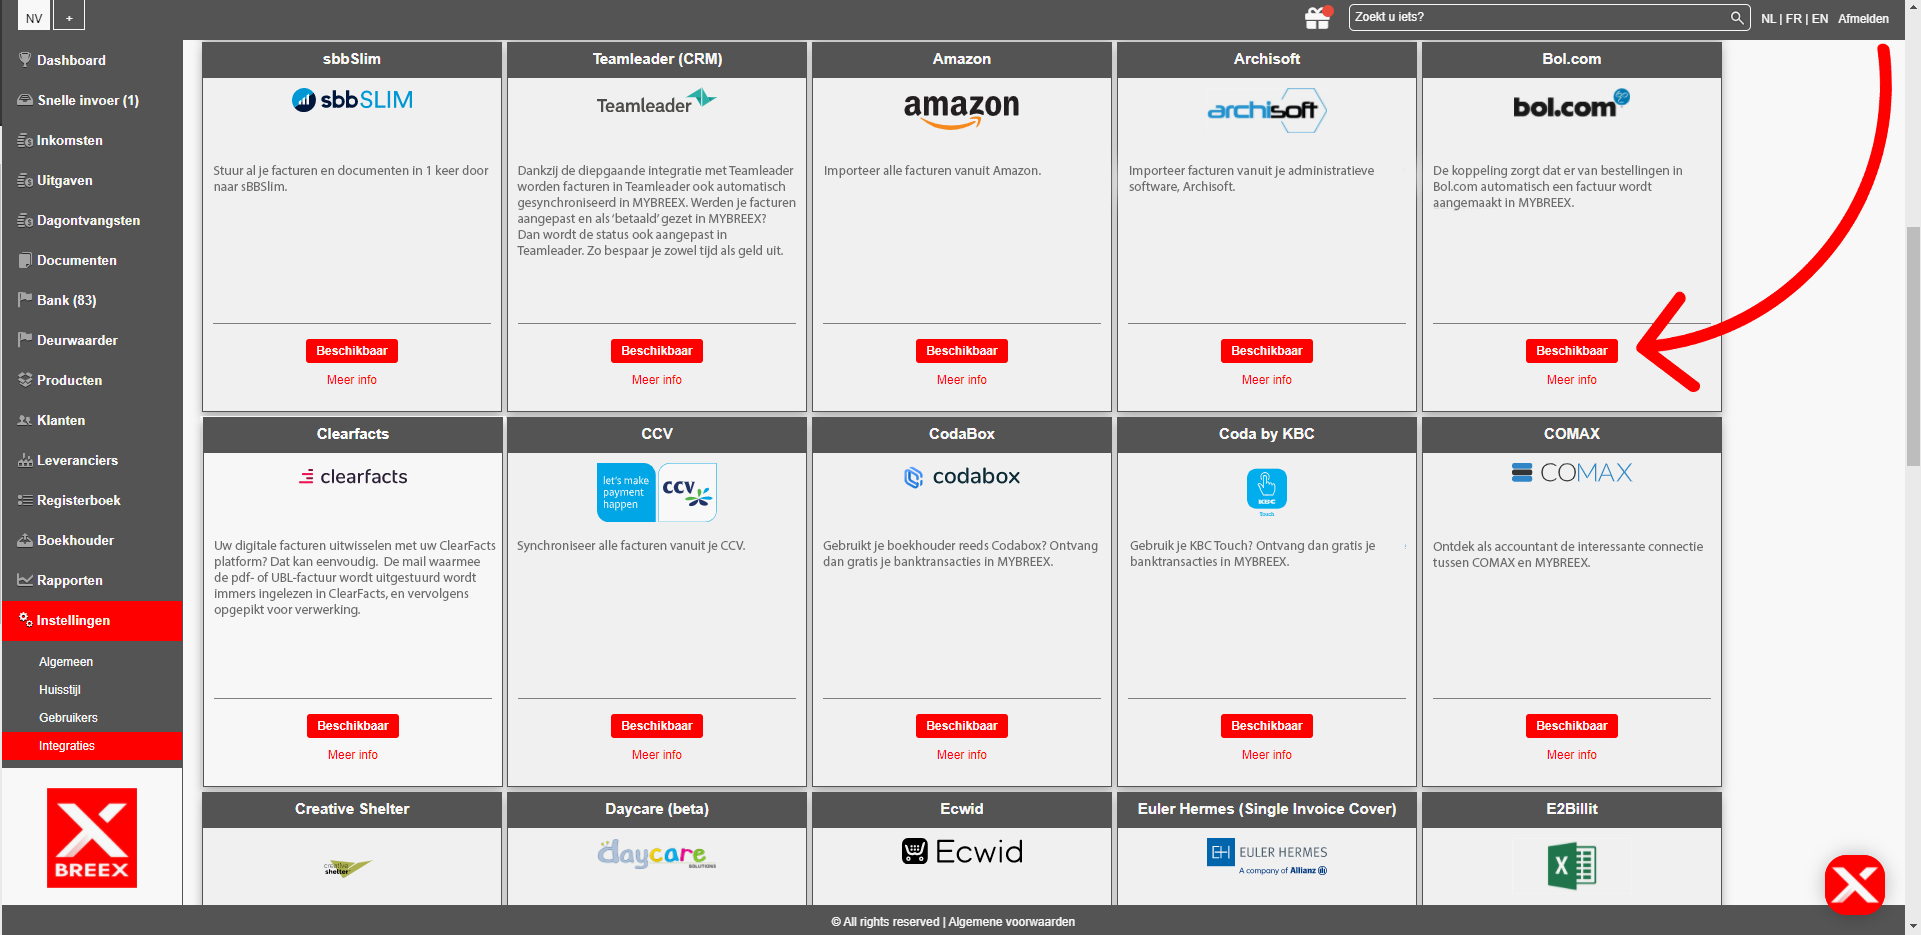

Via Settings > Integrations > Car-Pass you can activate the integration with Car-Pass. To do this, enter the data below that you received from Car-Pass:
1. Username
2. Password
3. Branch number
Click on Customer > Additional > Fields and notice the additional fields that have been added. Please contact our customer service department if these fields are not available. Do not change these automatically created fields!
– Registration number plate: The number plate of the car whose details are to be sent to Car-Pass.
– KM reading: The current odometer reading at the time the invoice was created. This reading should be correctly sent to Car-Pass.
– VIN no: A frame or chassis number or vehicle identification number (VIN) is a unique identifier that all authorised road vehicles must have.
Don’t hesitate to update the registration plate, KM reading and VIN number field per customer.
Via Add Income, create a new invoice. Note that the new additional car-pass fields described above are automatically available, incusive the field:
– Car-Pass sent on: The date the details of this car were correctly sent to Car-Pass
.Then click Save.


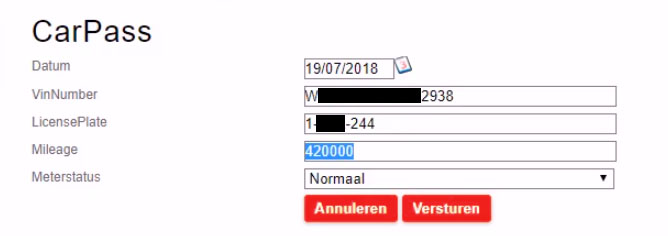
Click on the button “Car-Pass”. A screen will appear where you can check the information to be sent to Car-Pass.
After sending to Car-Pass, you will receive the message:
“The mileage was sent successfully.”
Click the Create Invoice button and send the invoice to the customer. Note that the extra fields specific to Car-Pass will automatically appear on the PDF of the invoice.